My Ethical Hacking Lab Setup

My Ethical Hacking Lab Setup

Date Published: 15/07/2025

Topics: Ethical-Hacking Home-Lab

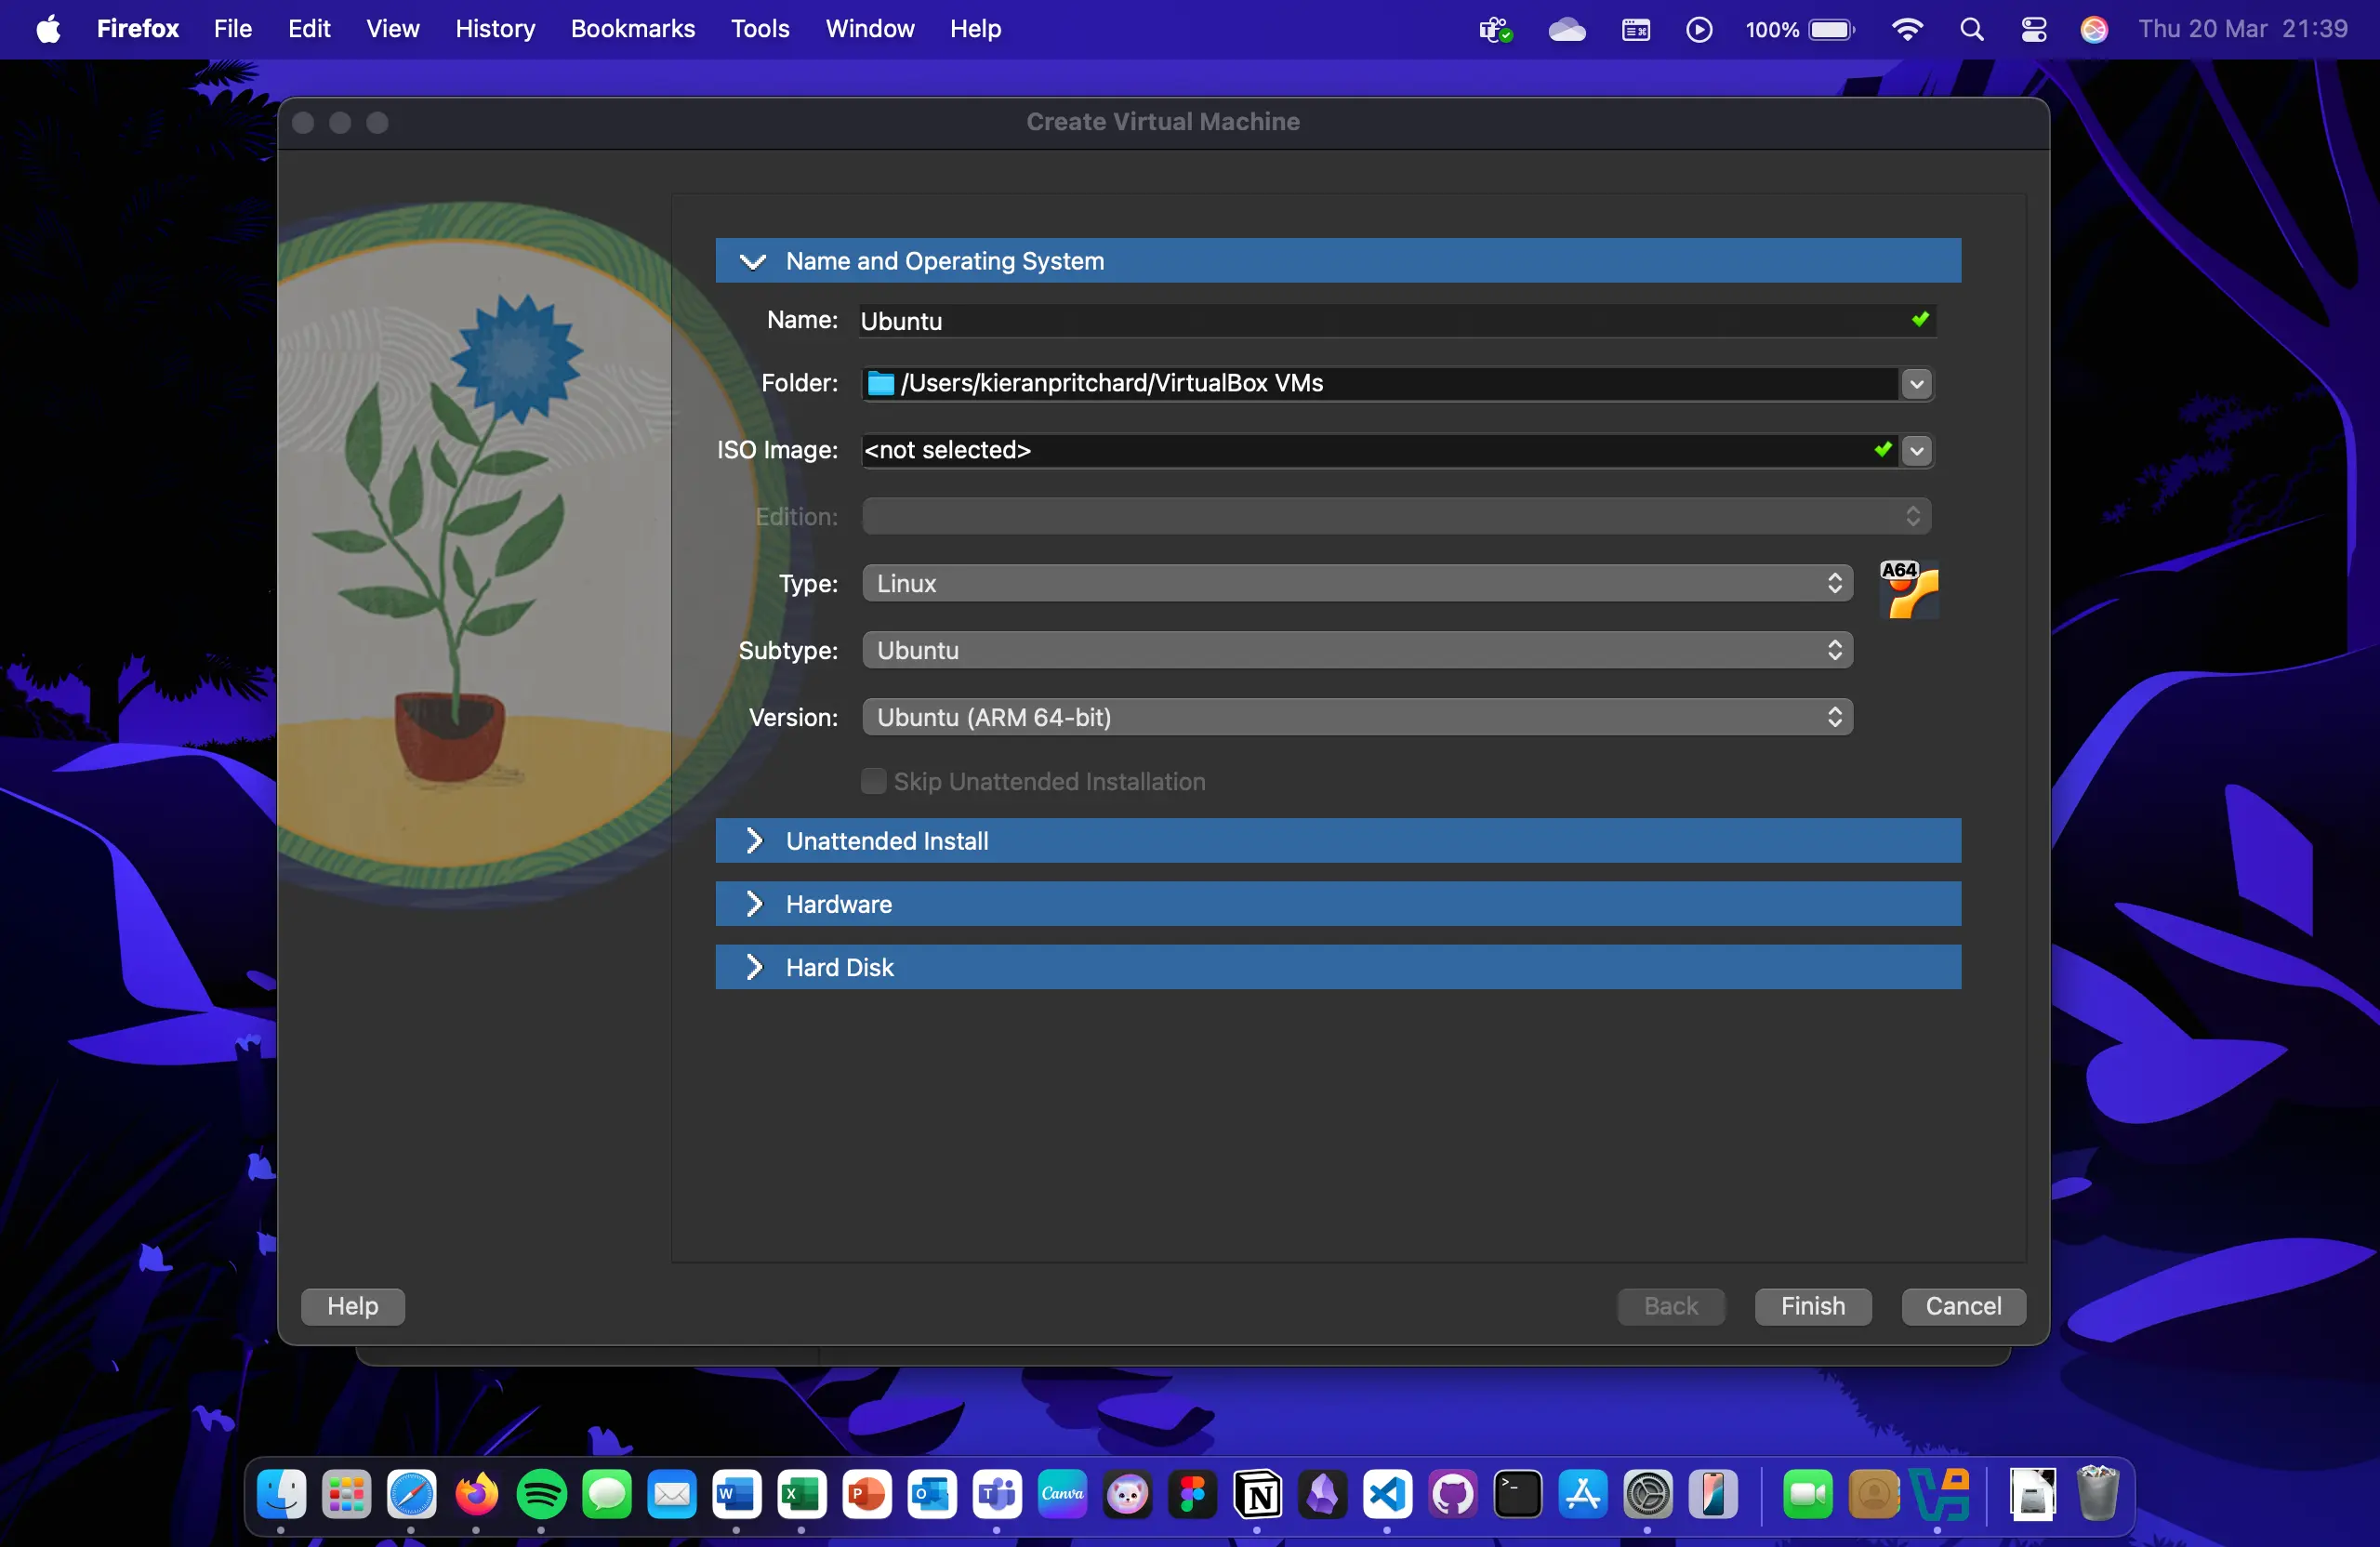
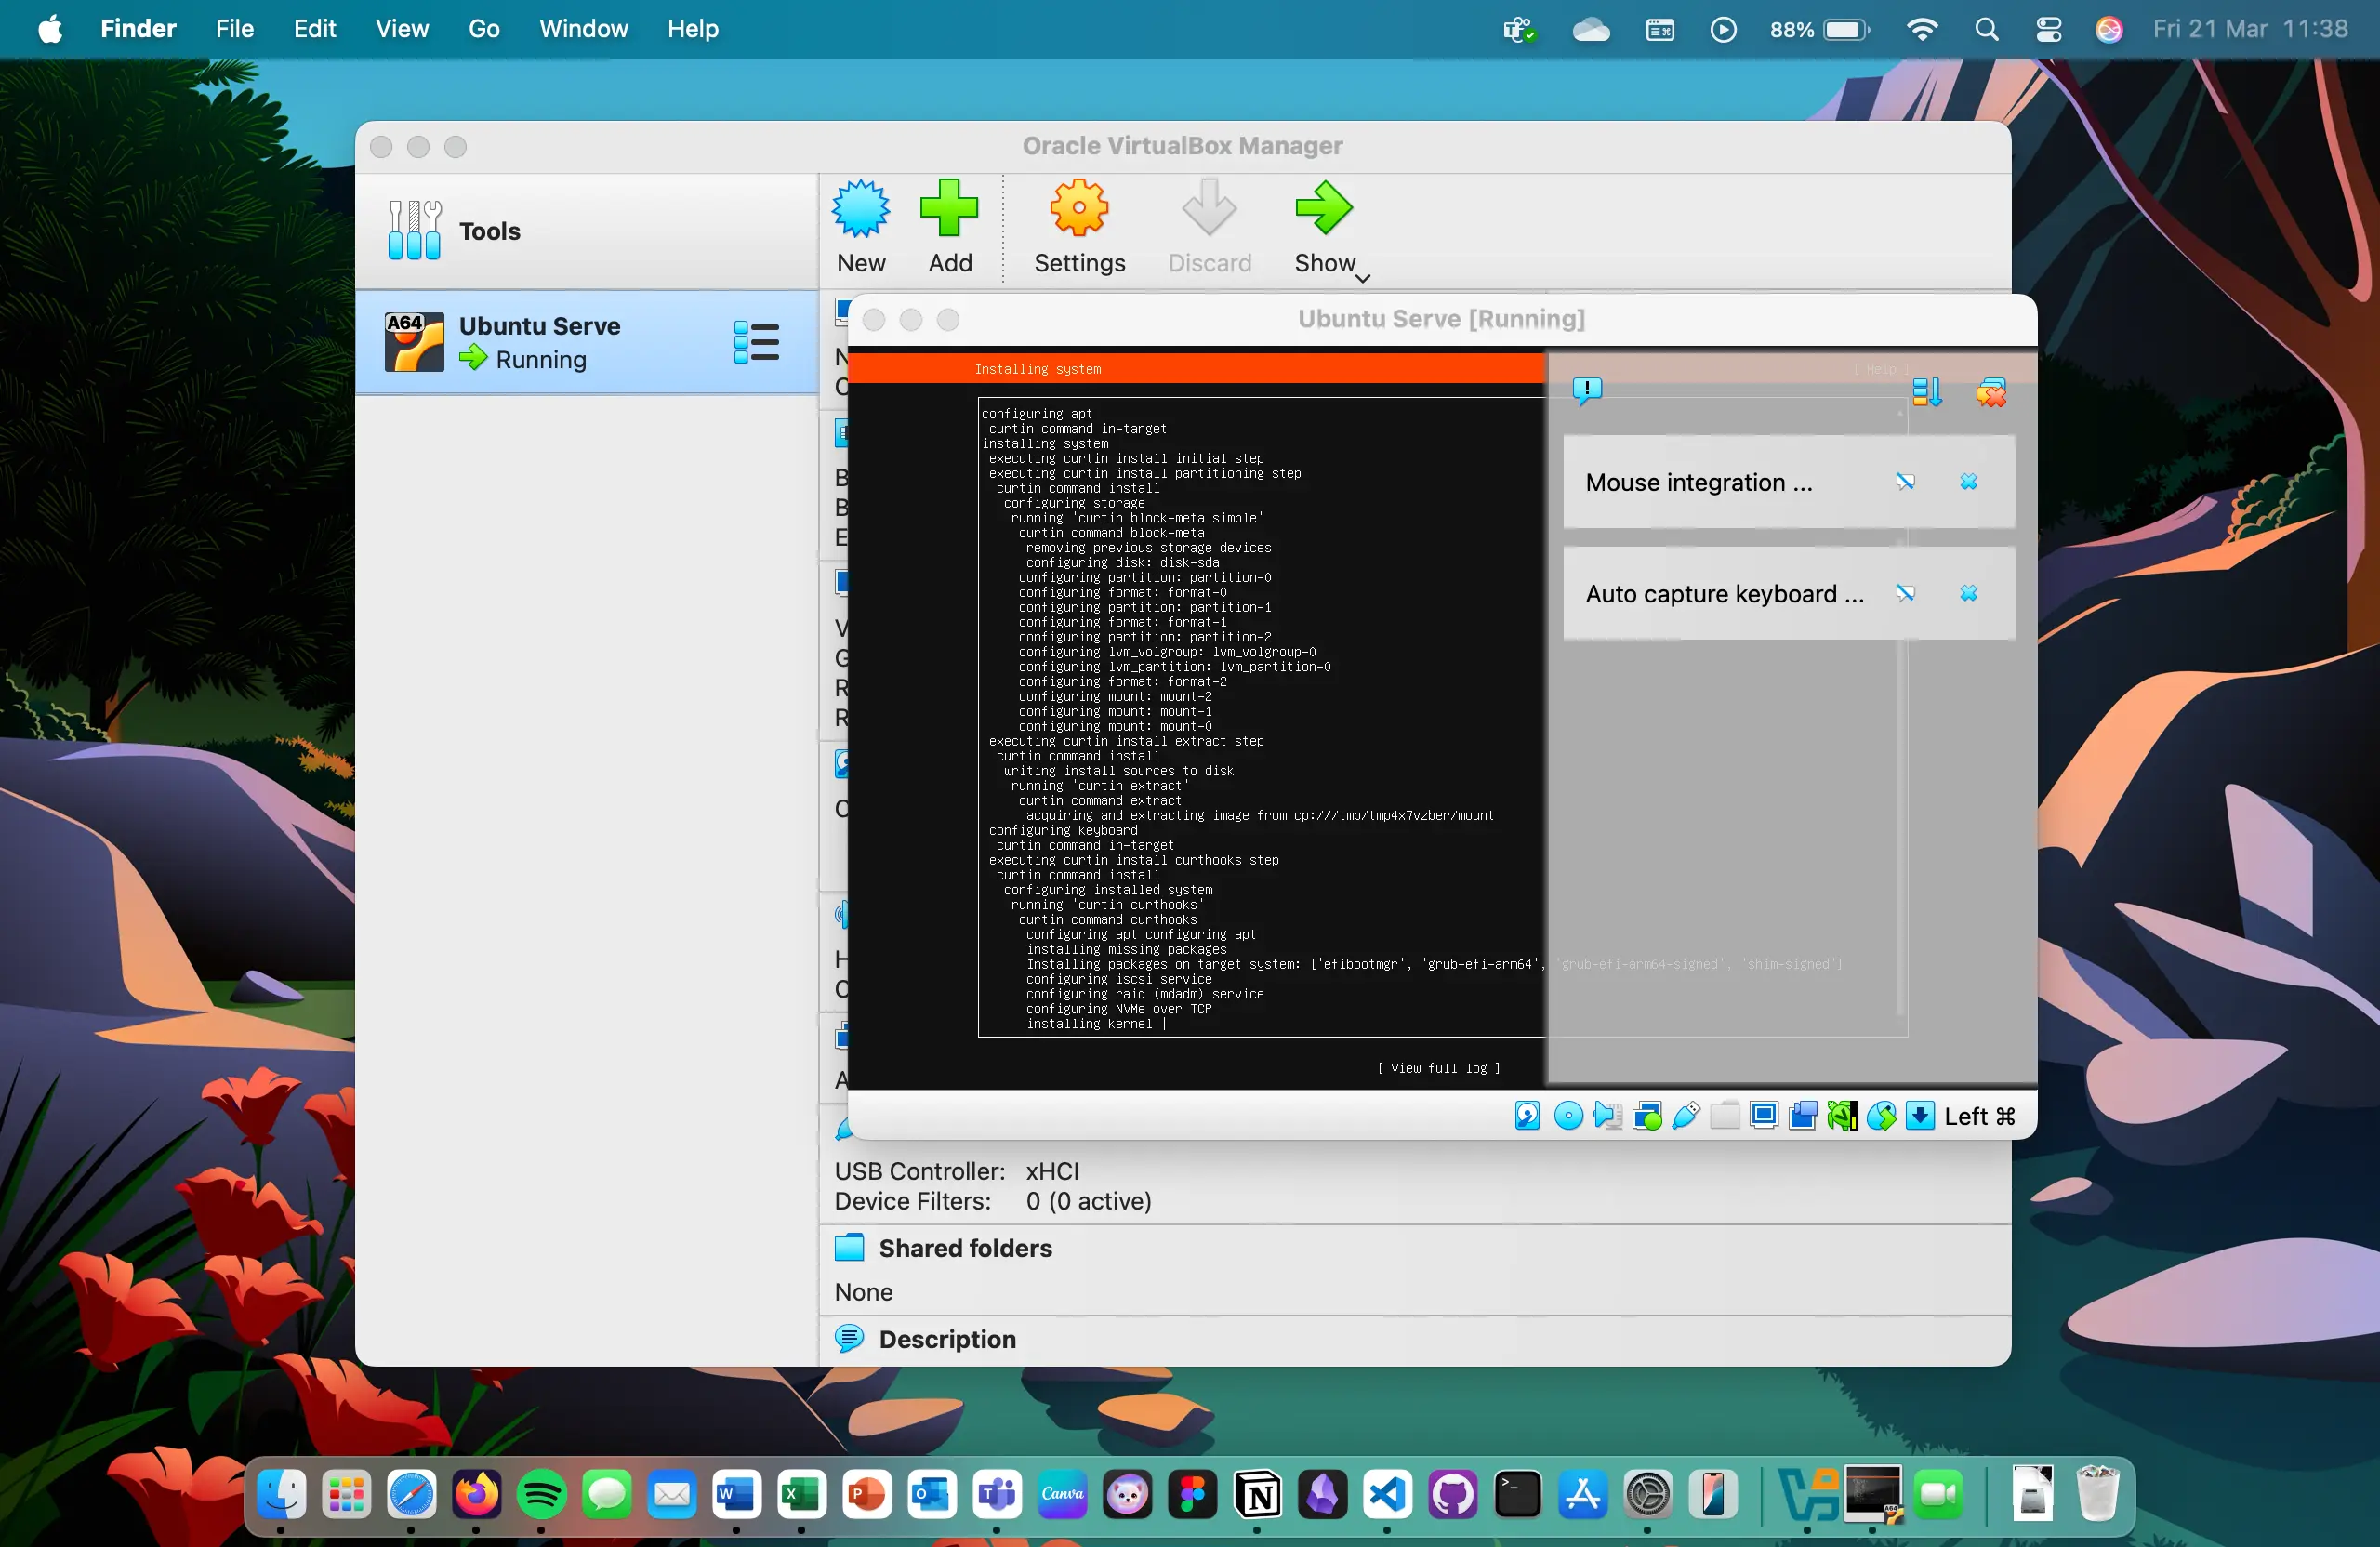
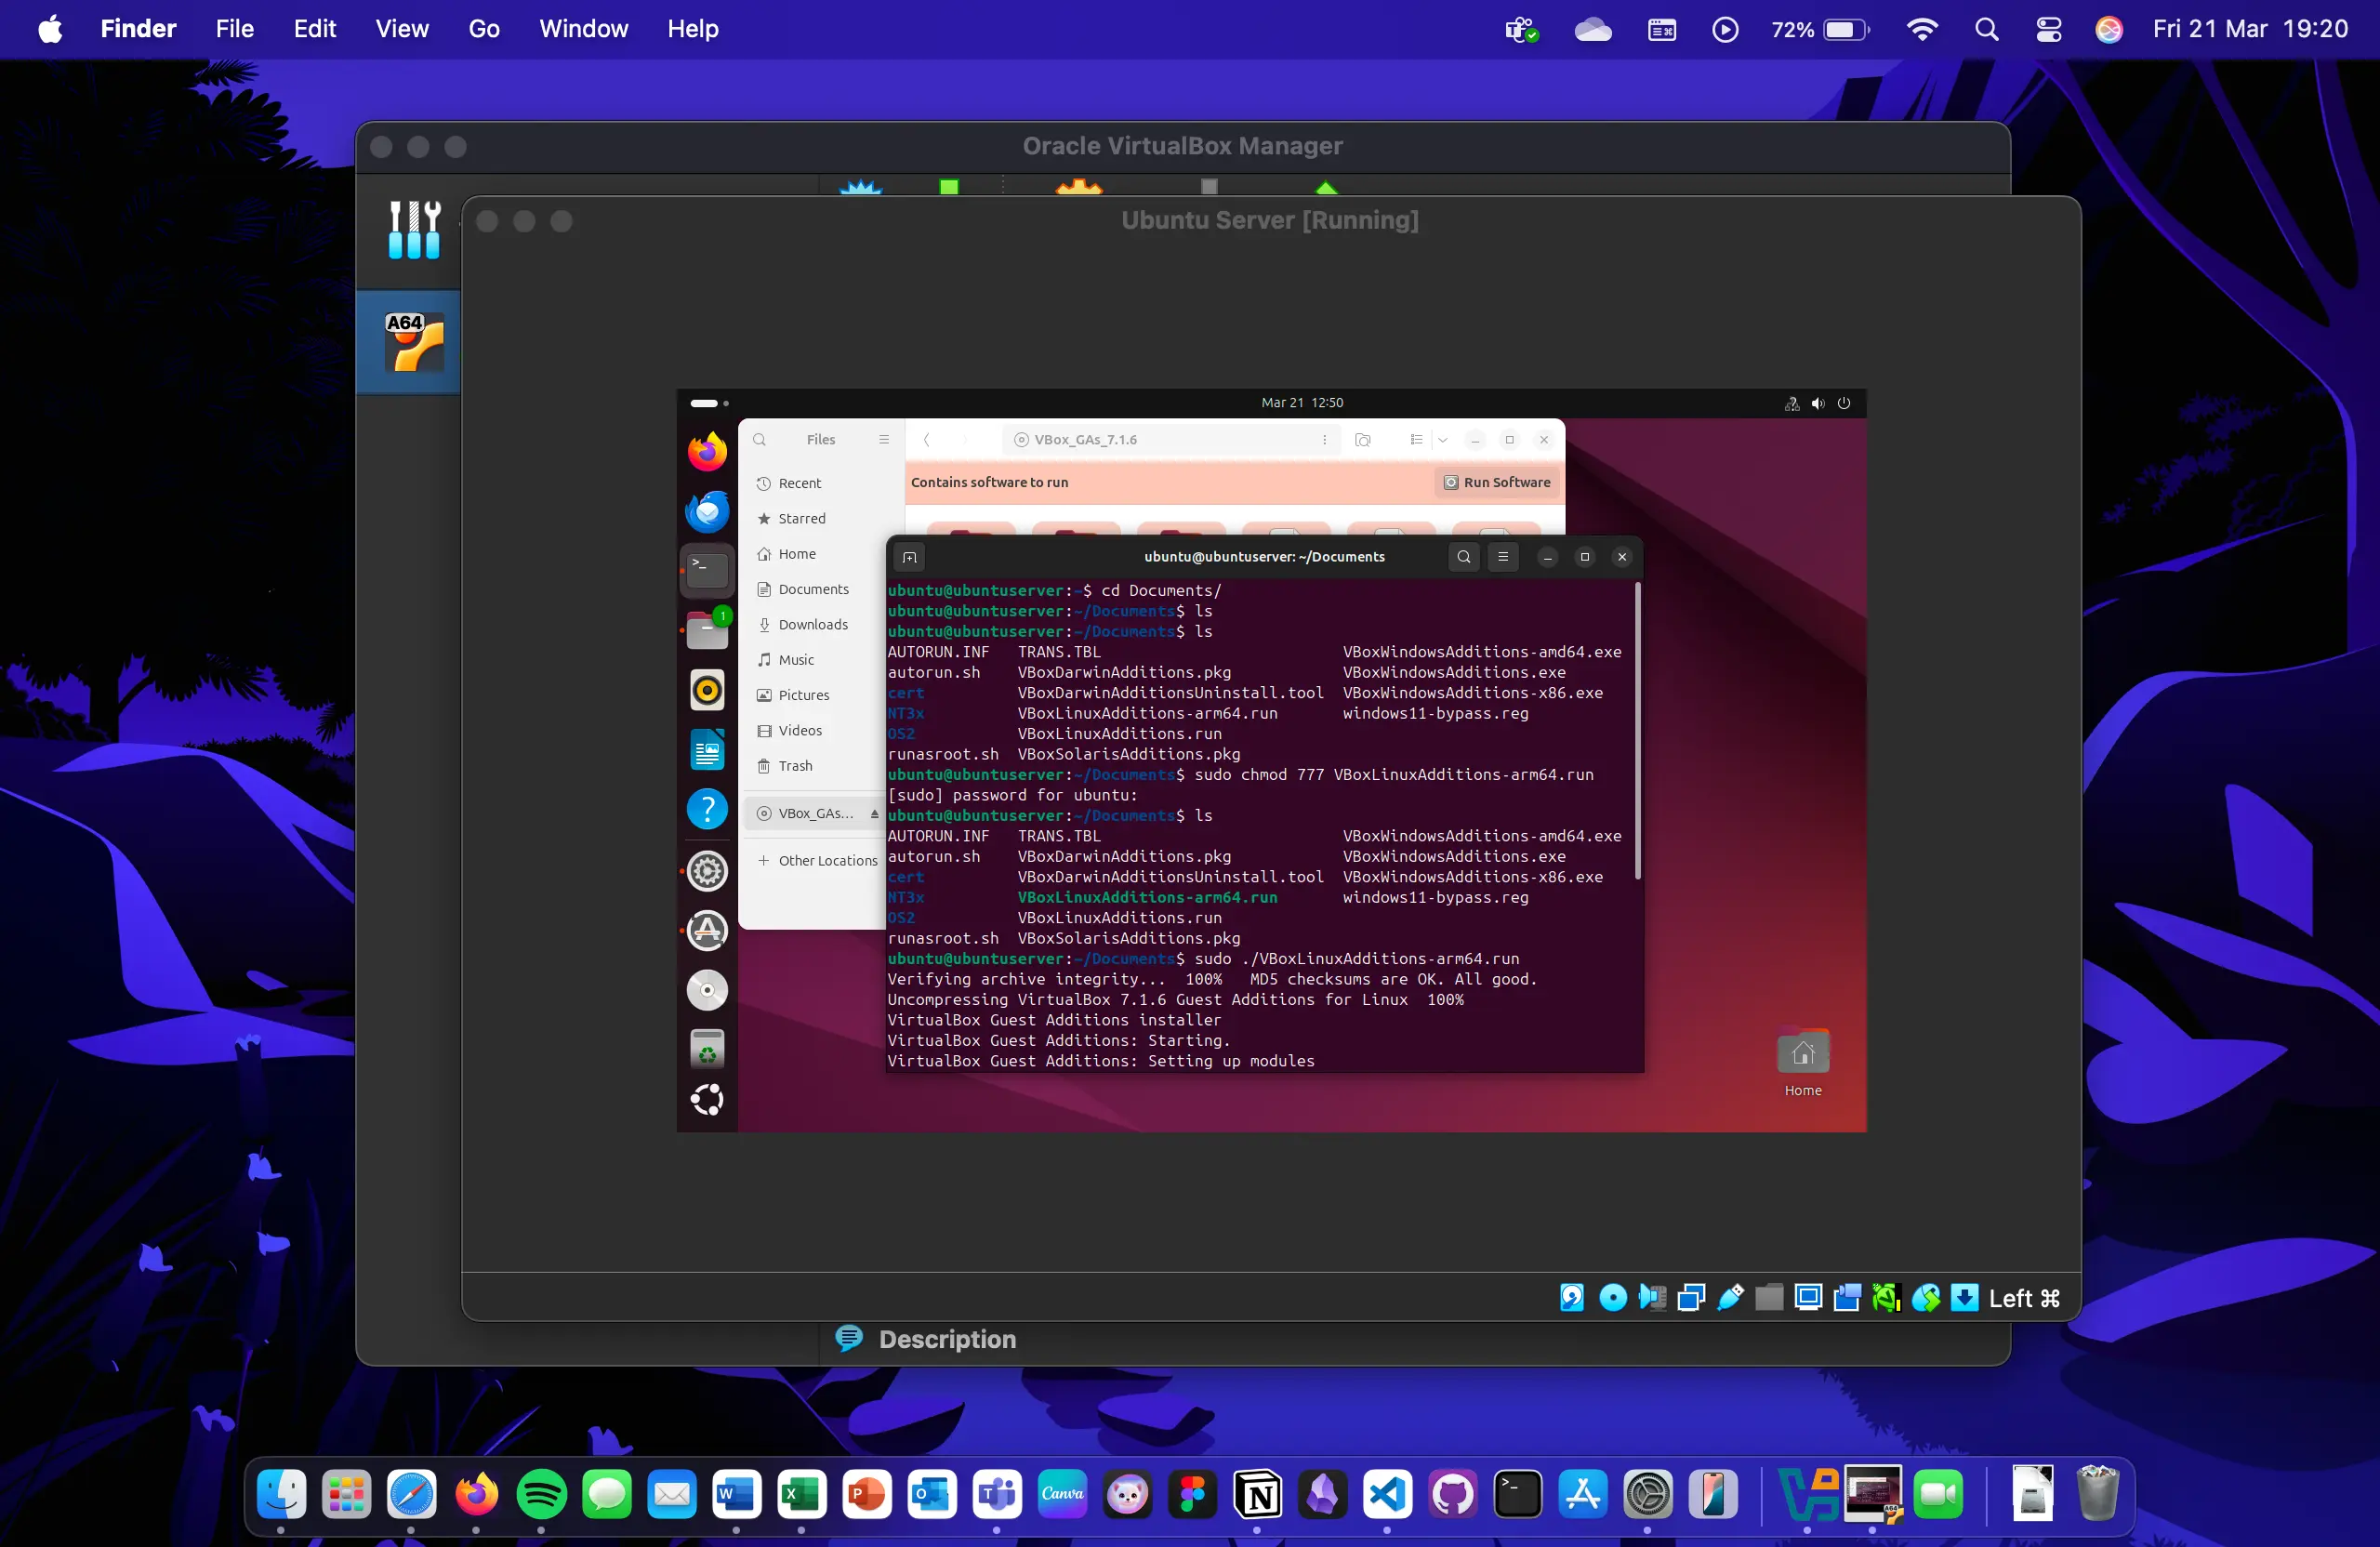
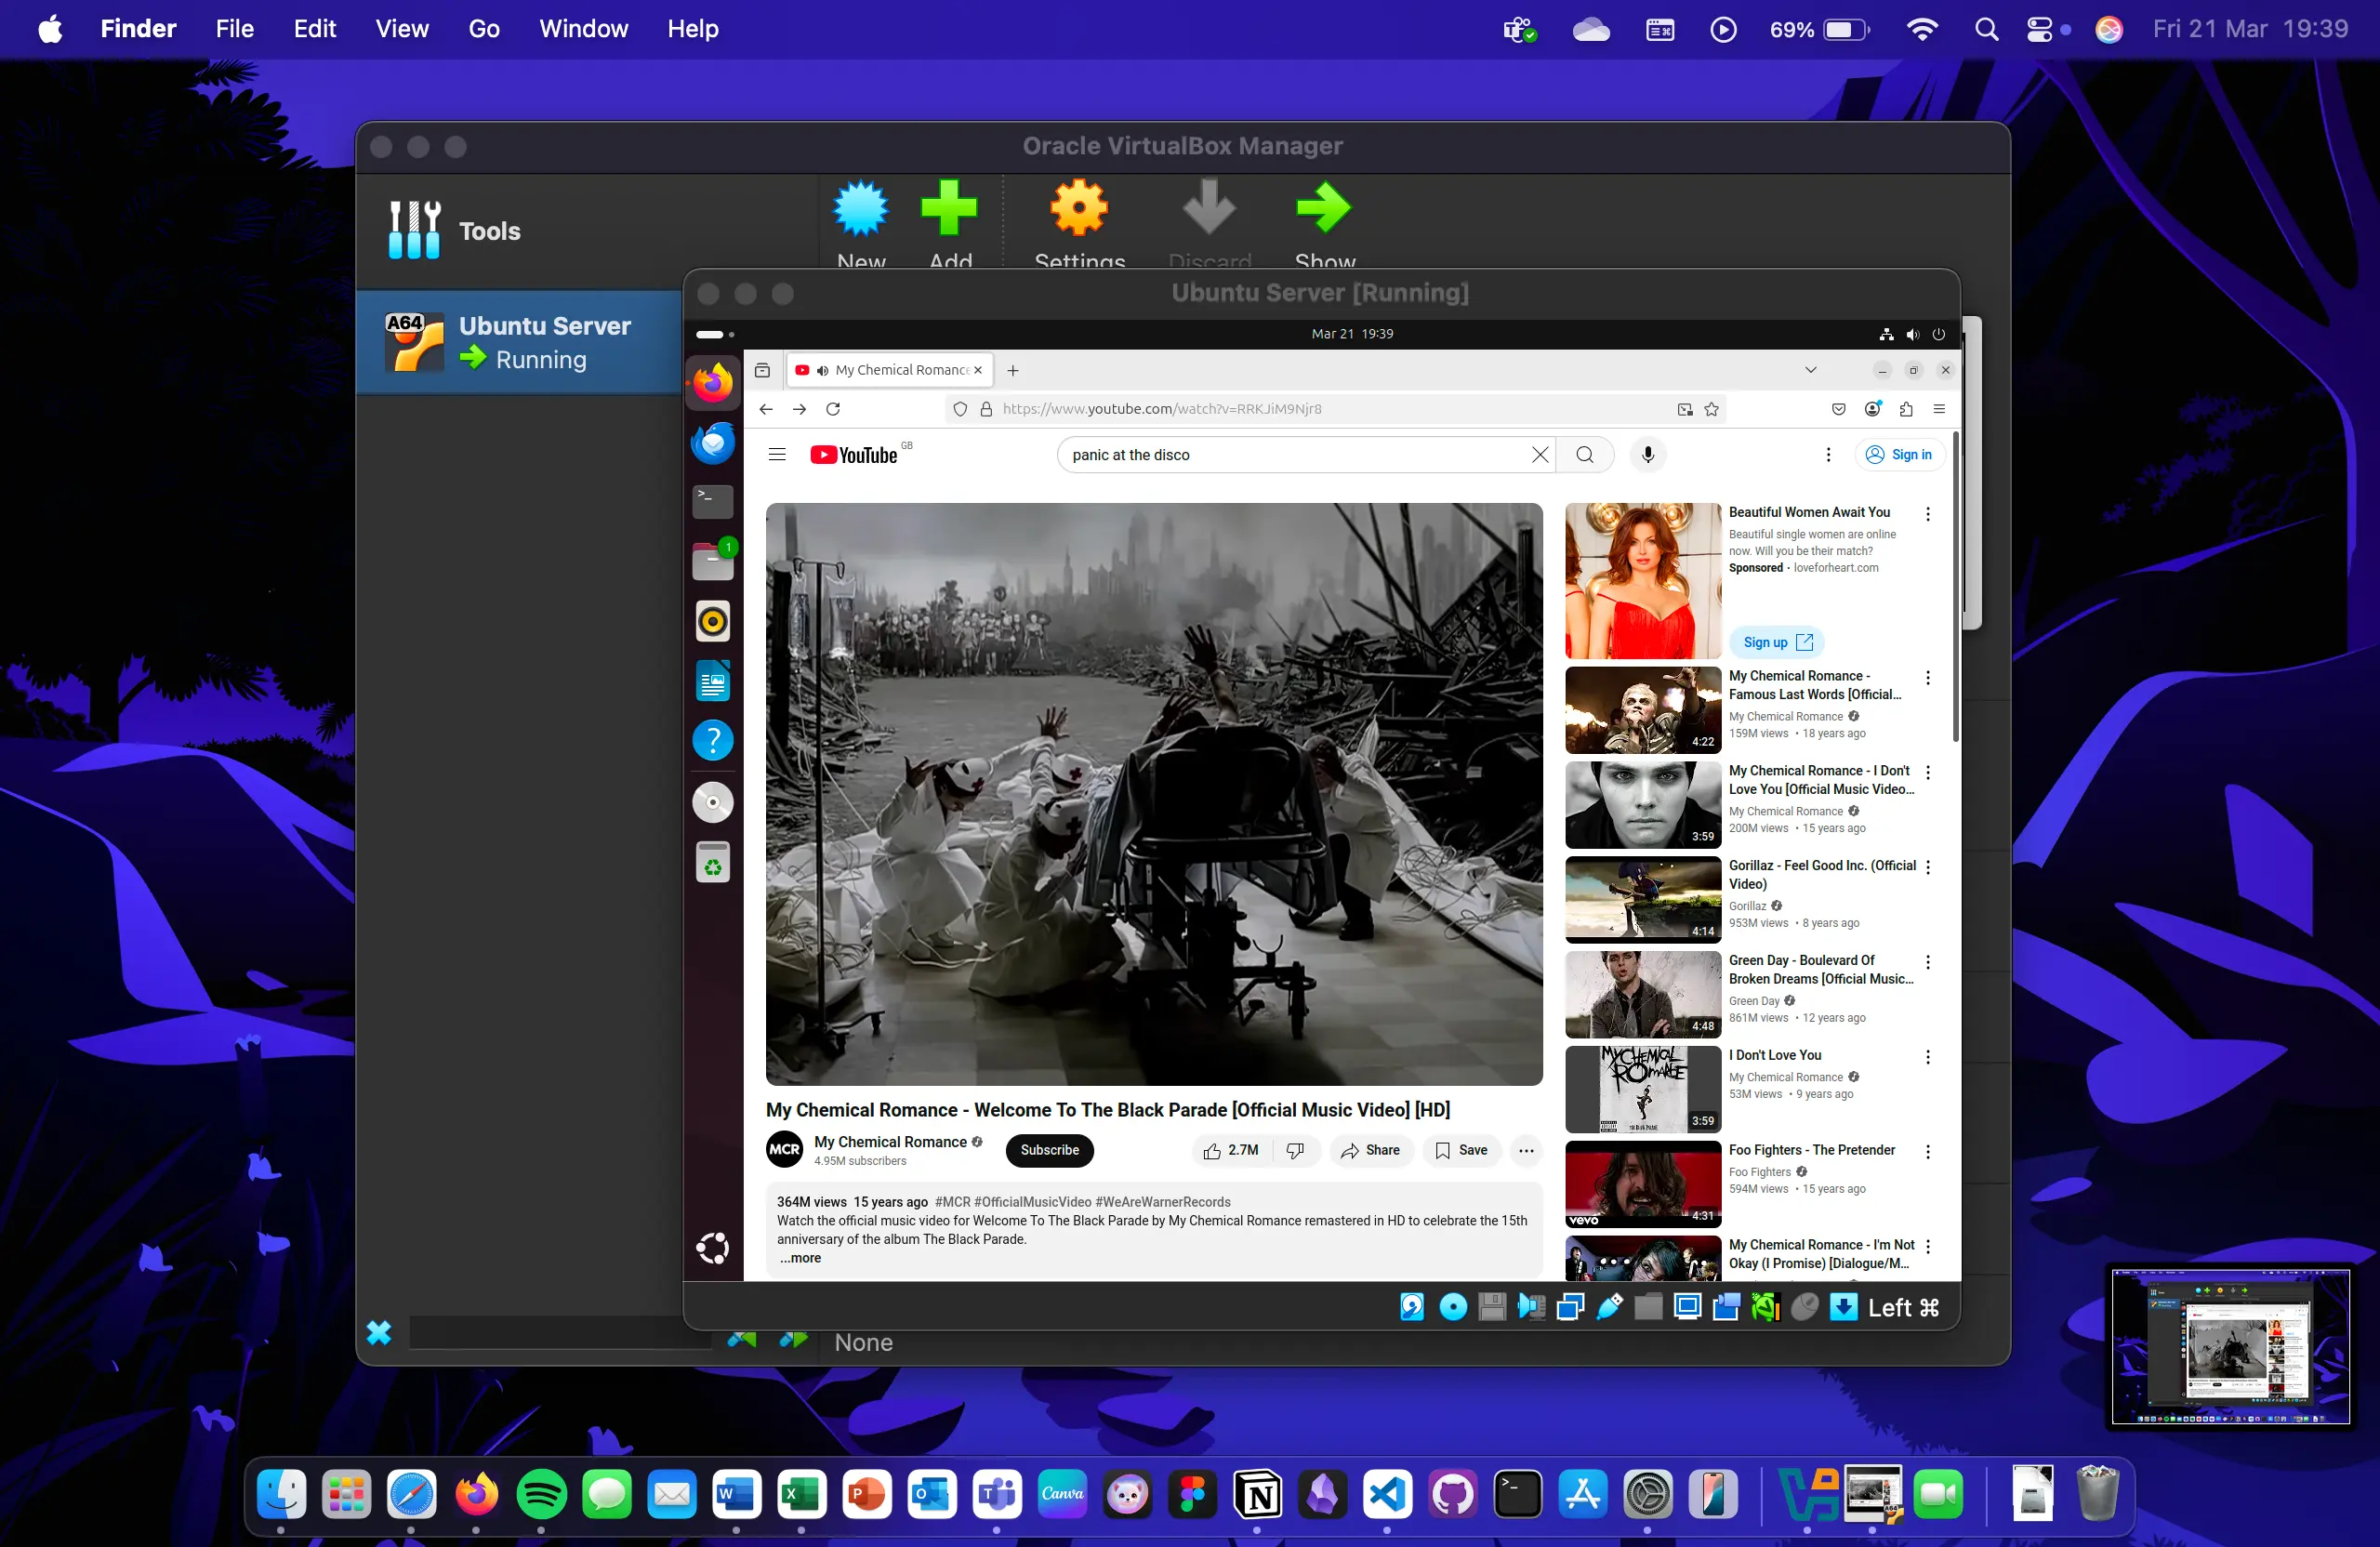
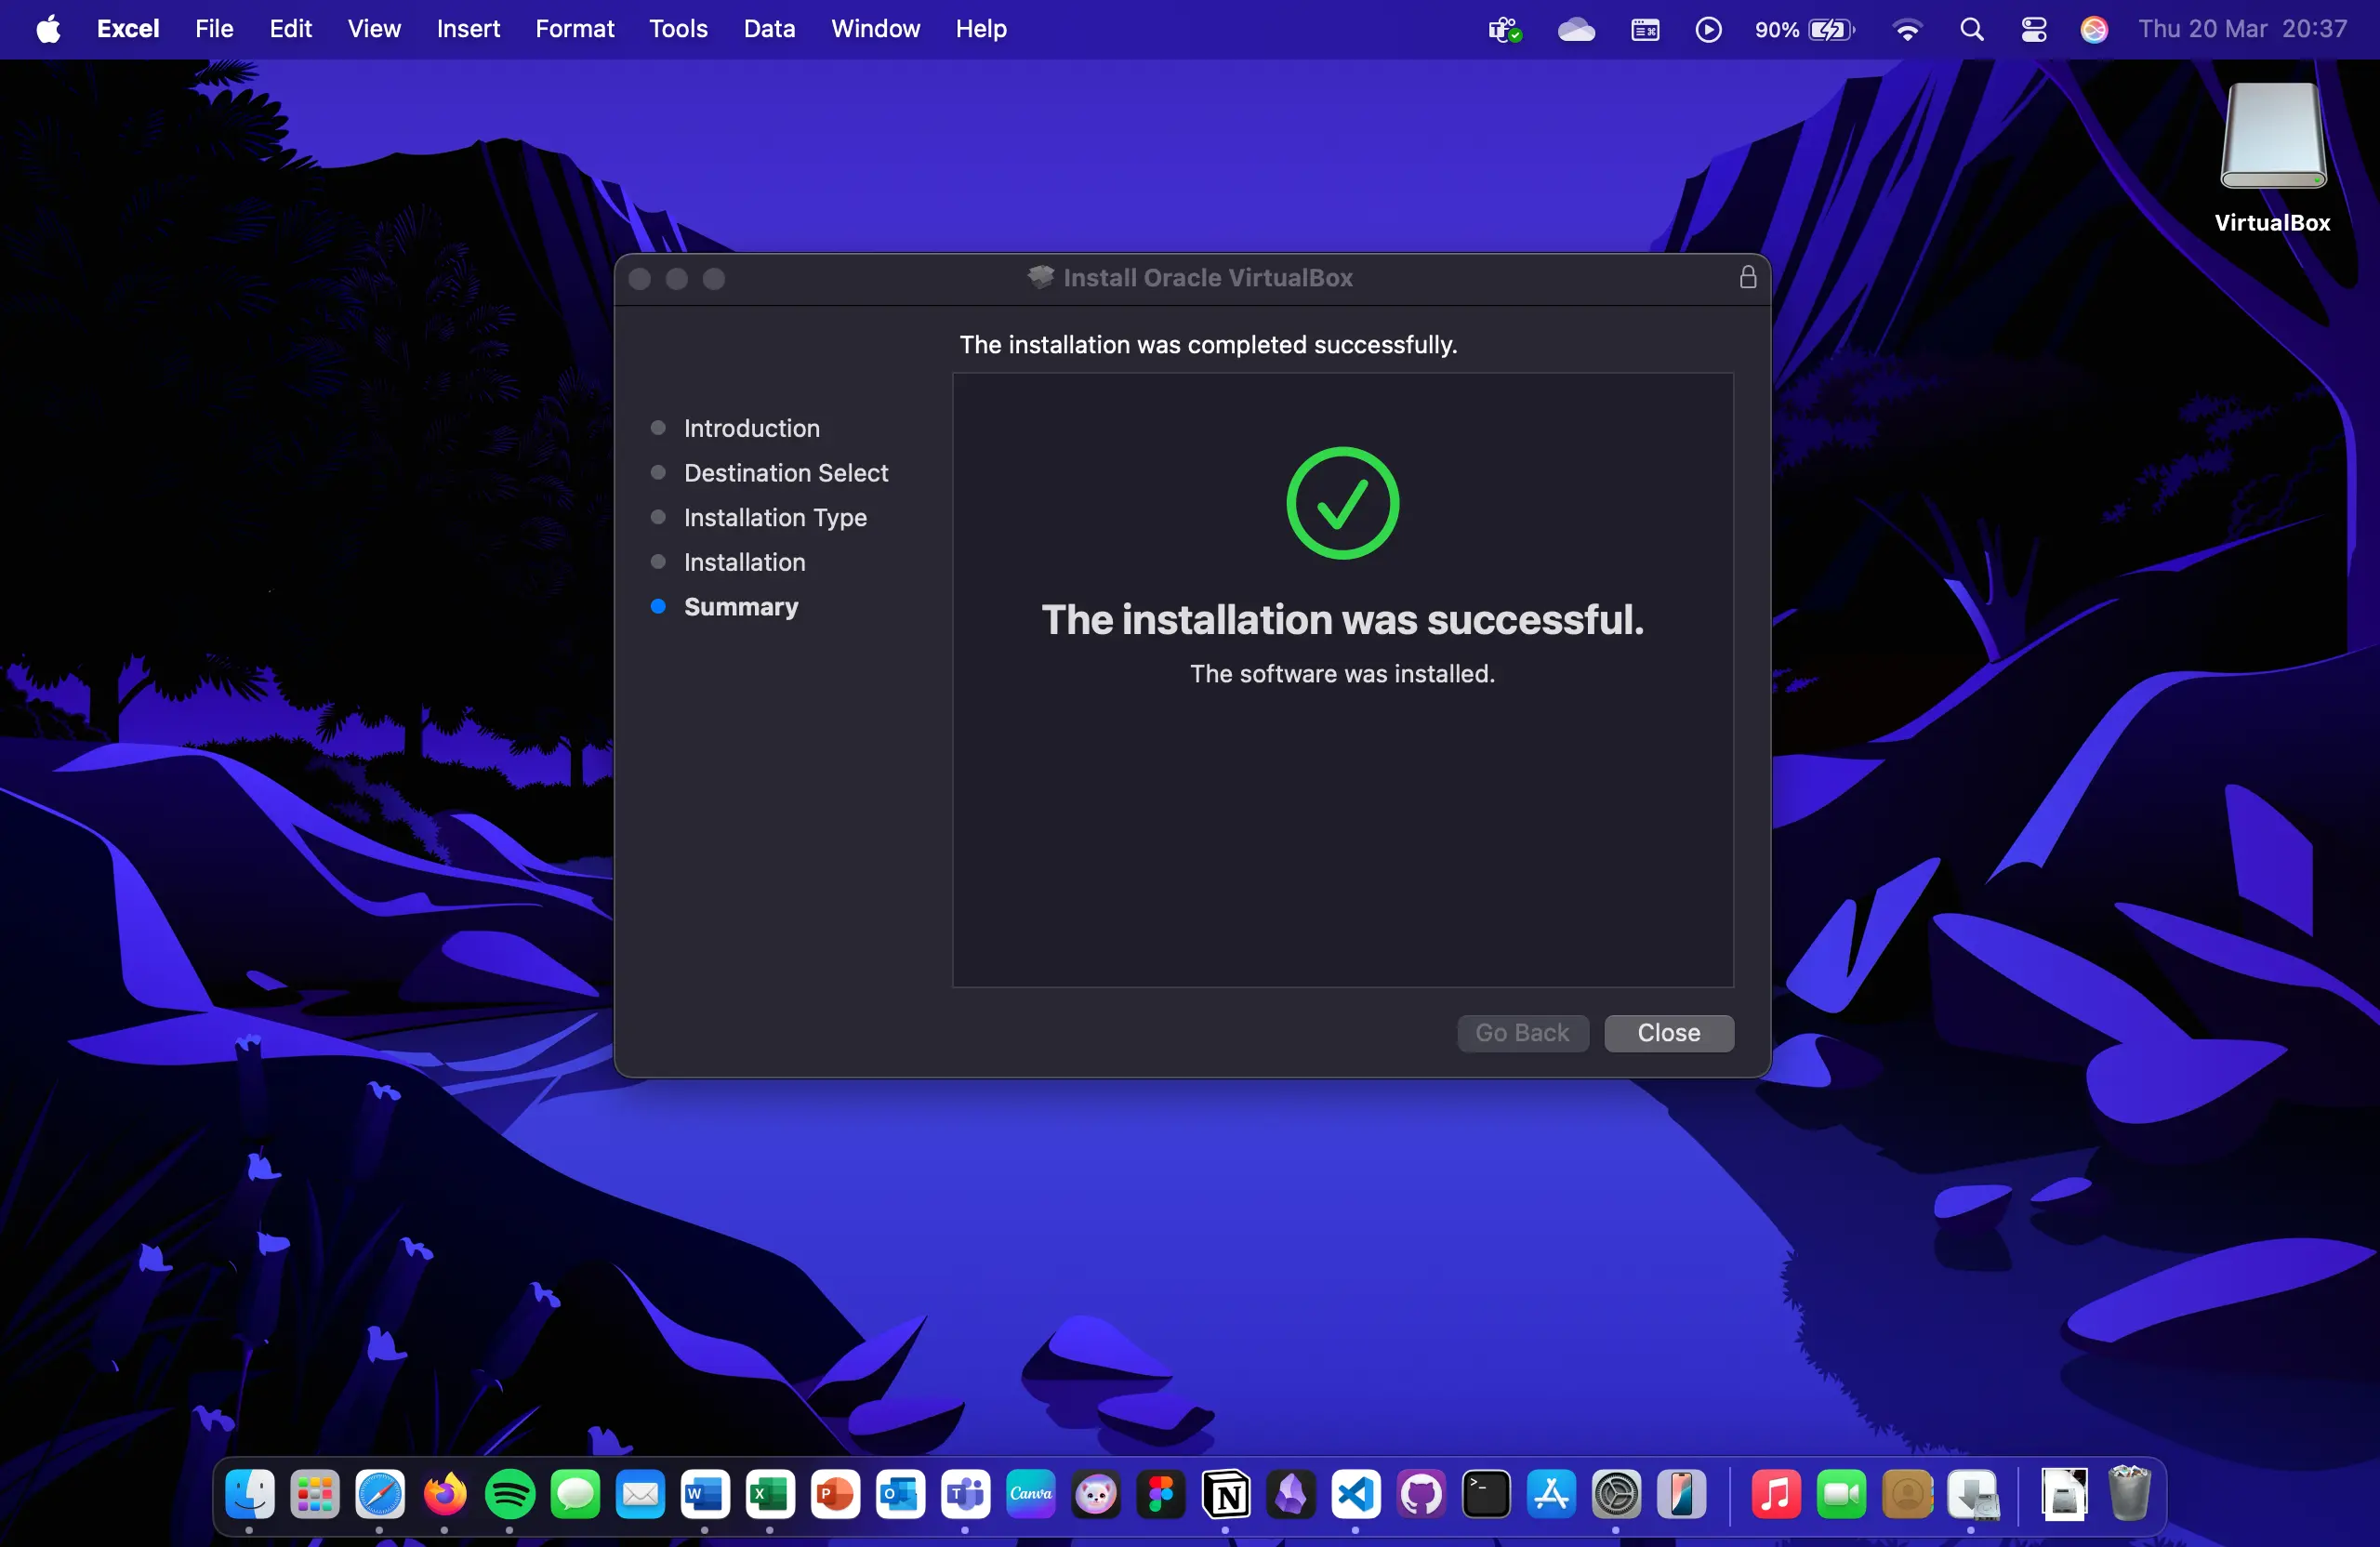
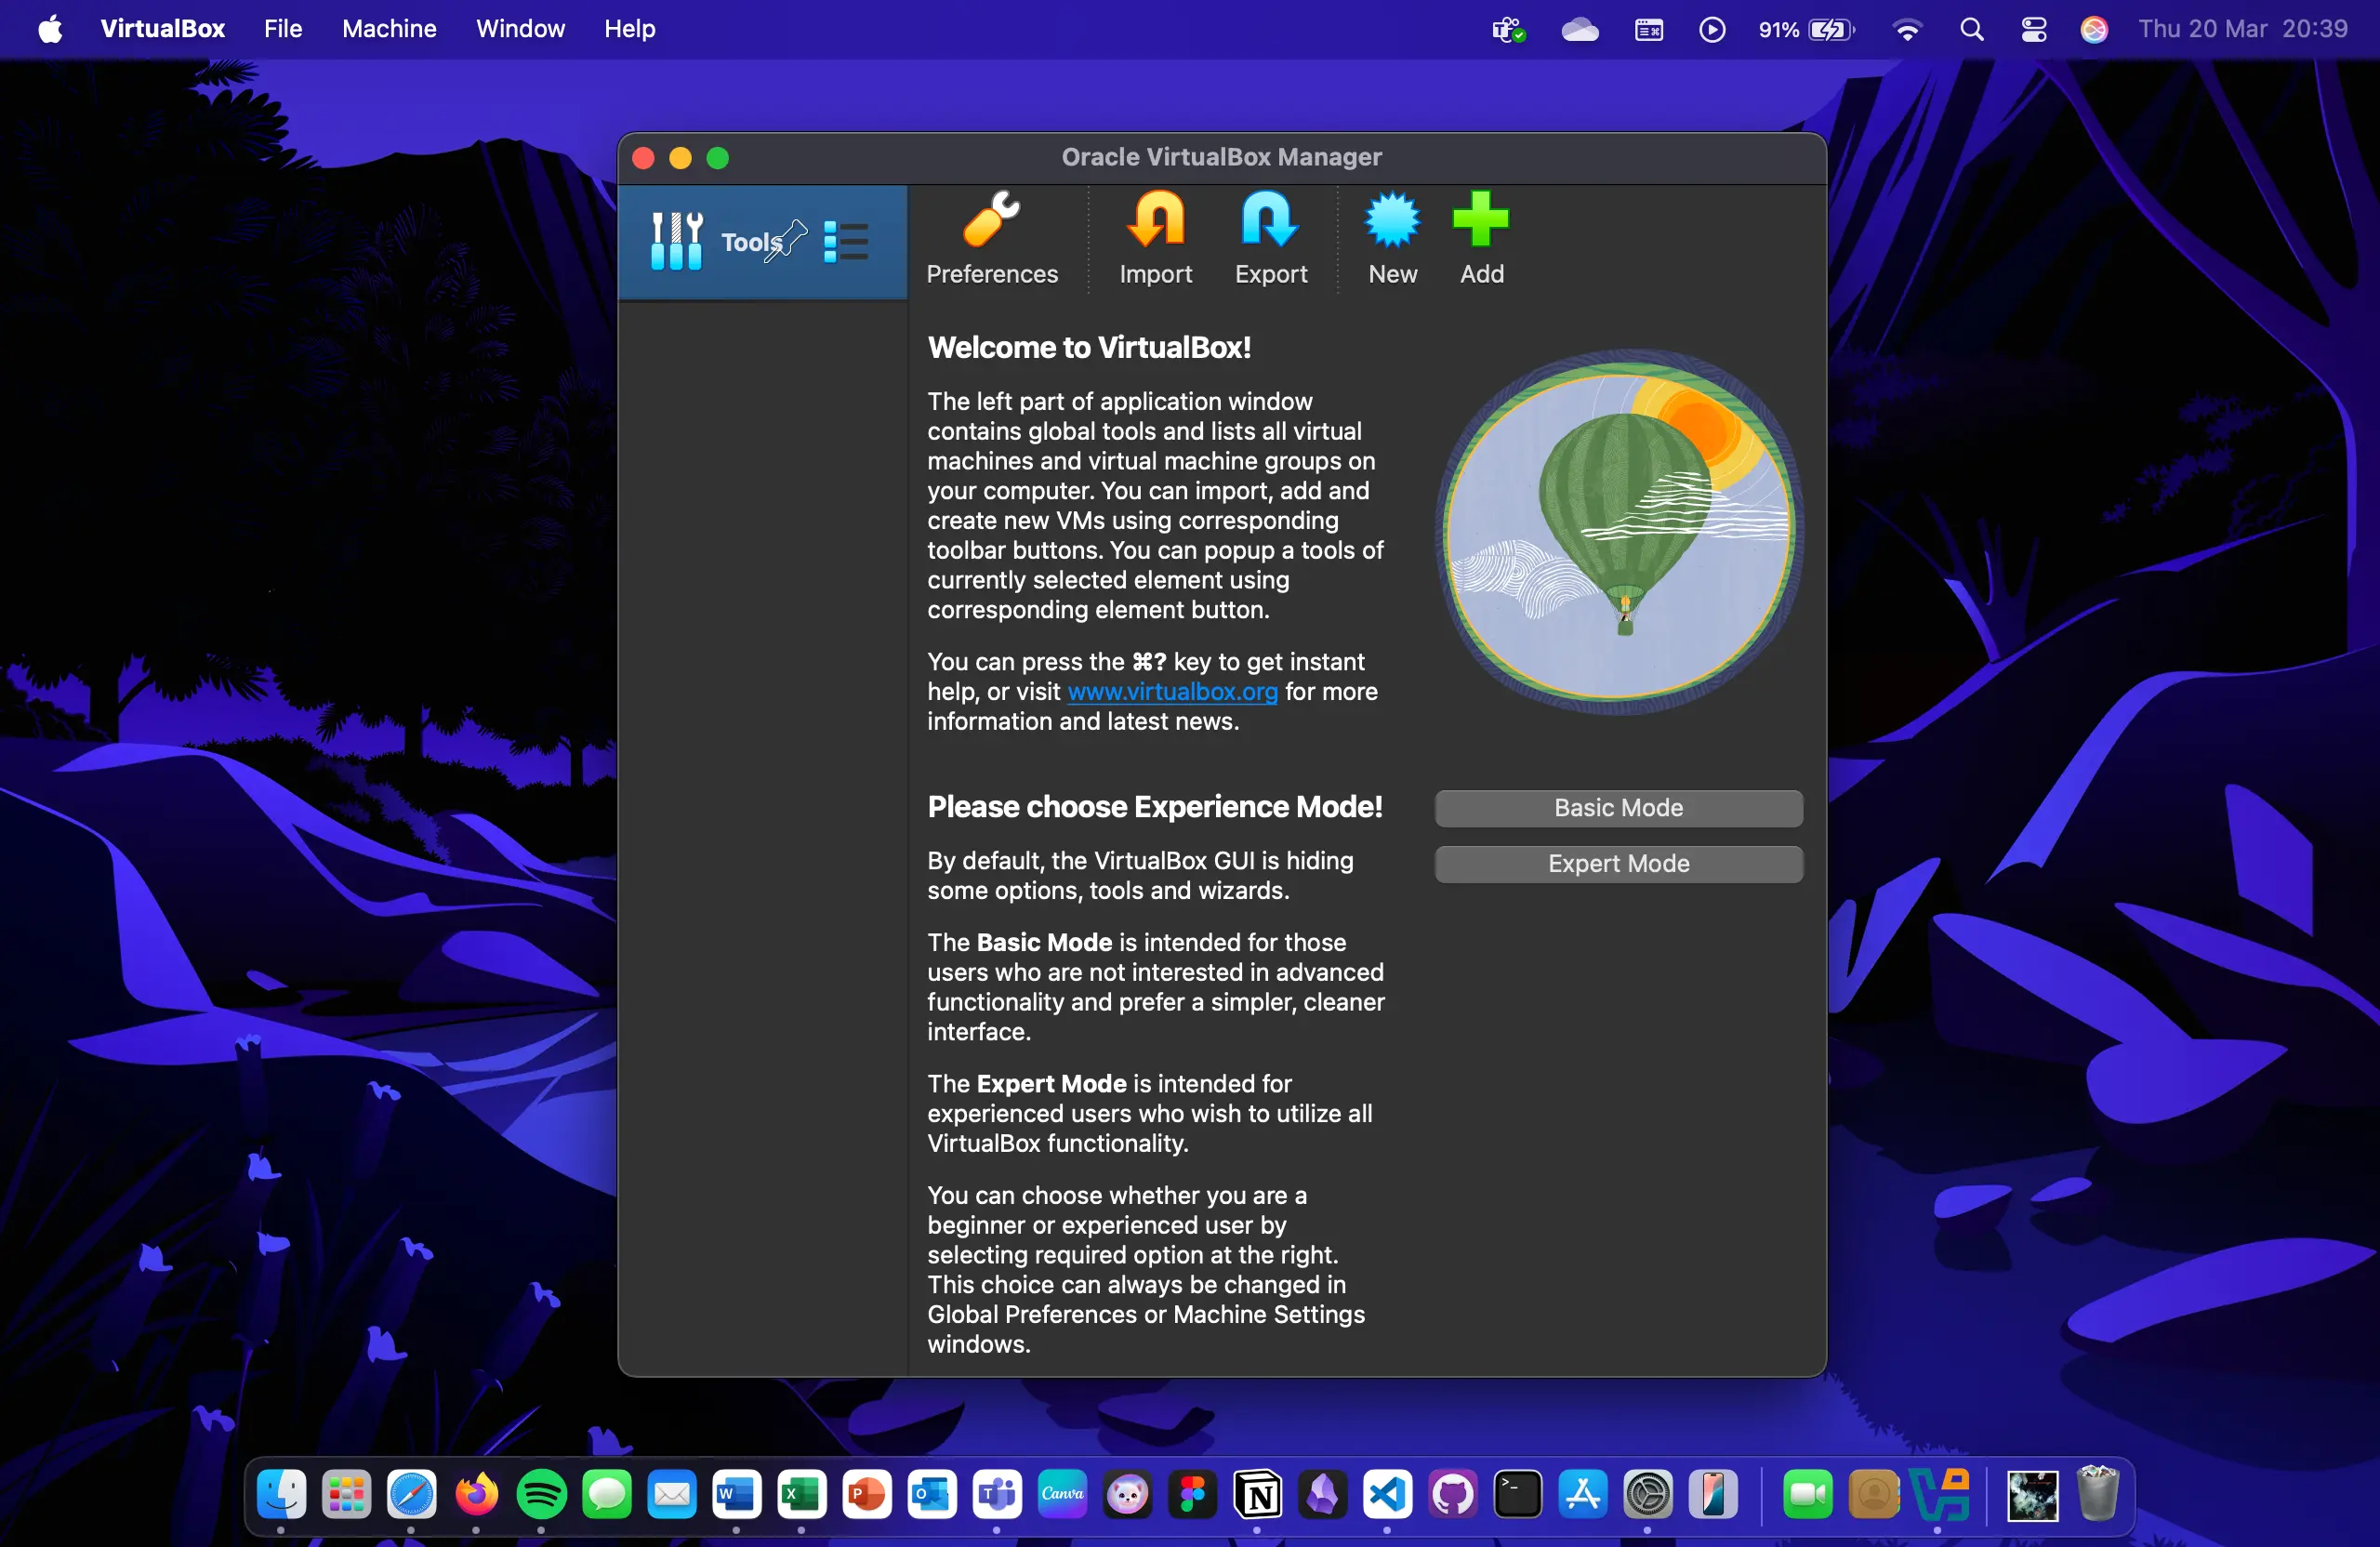
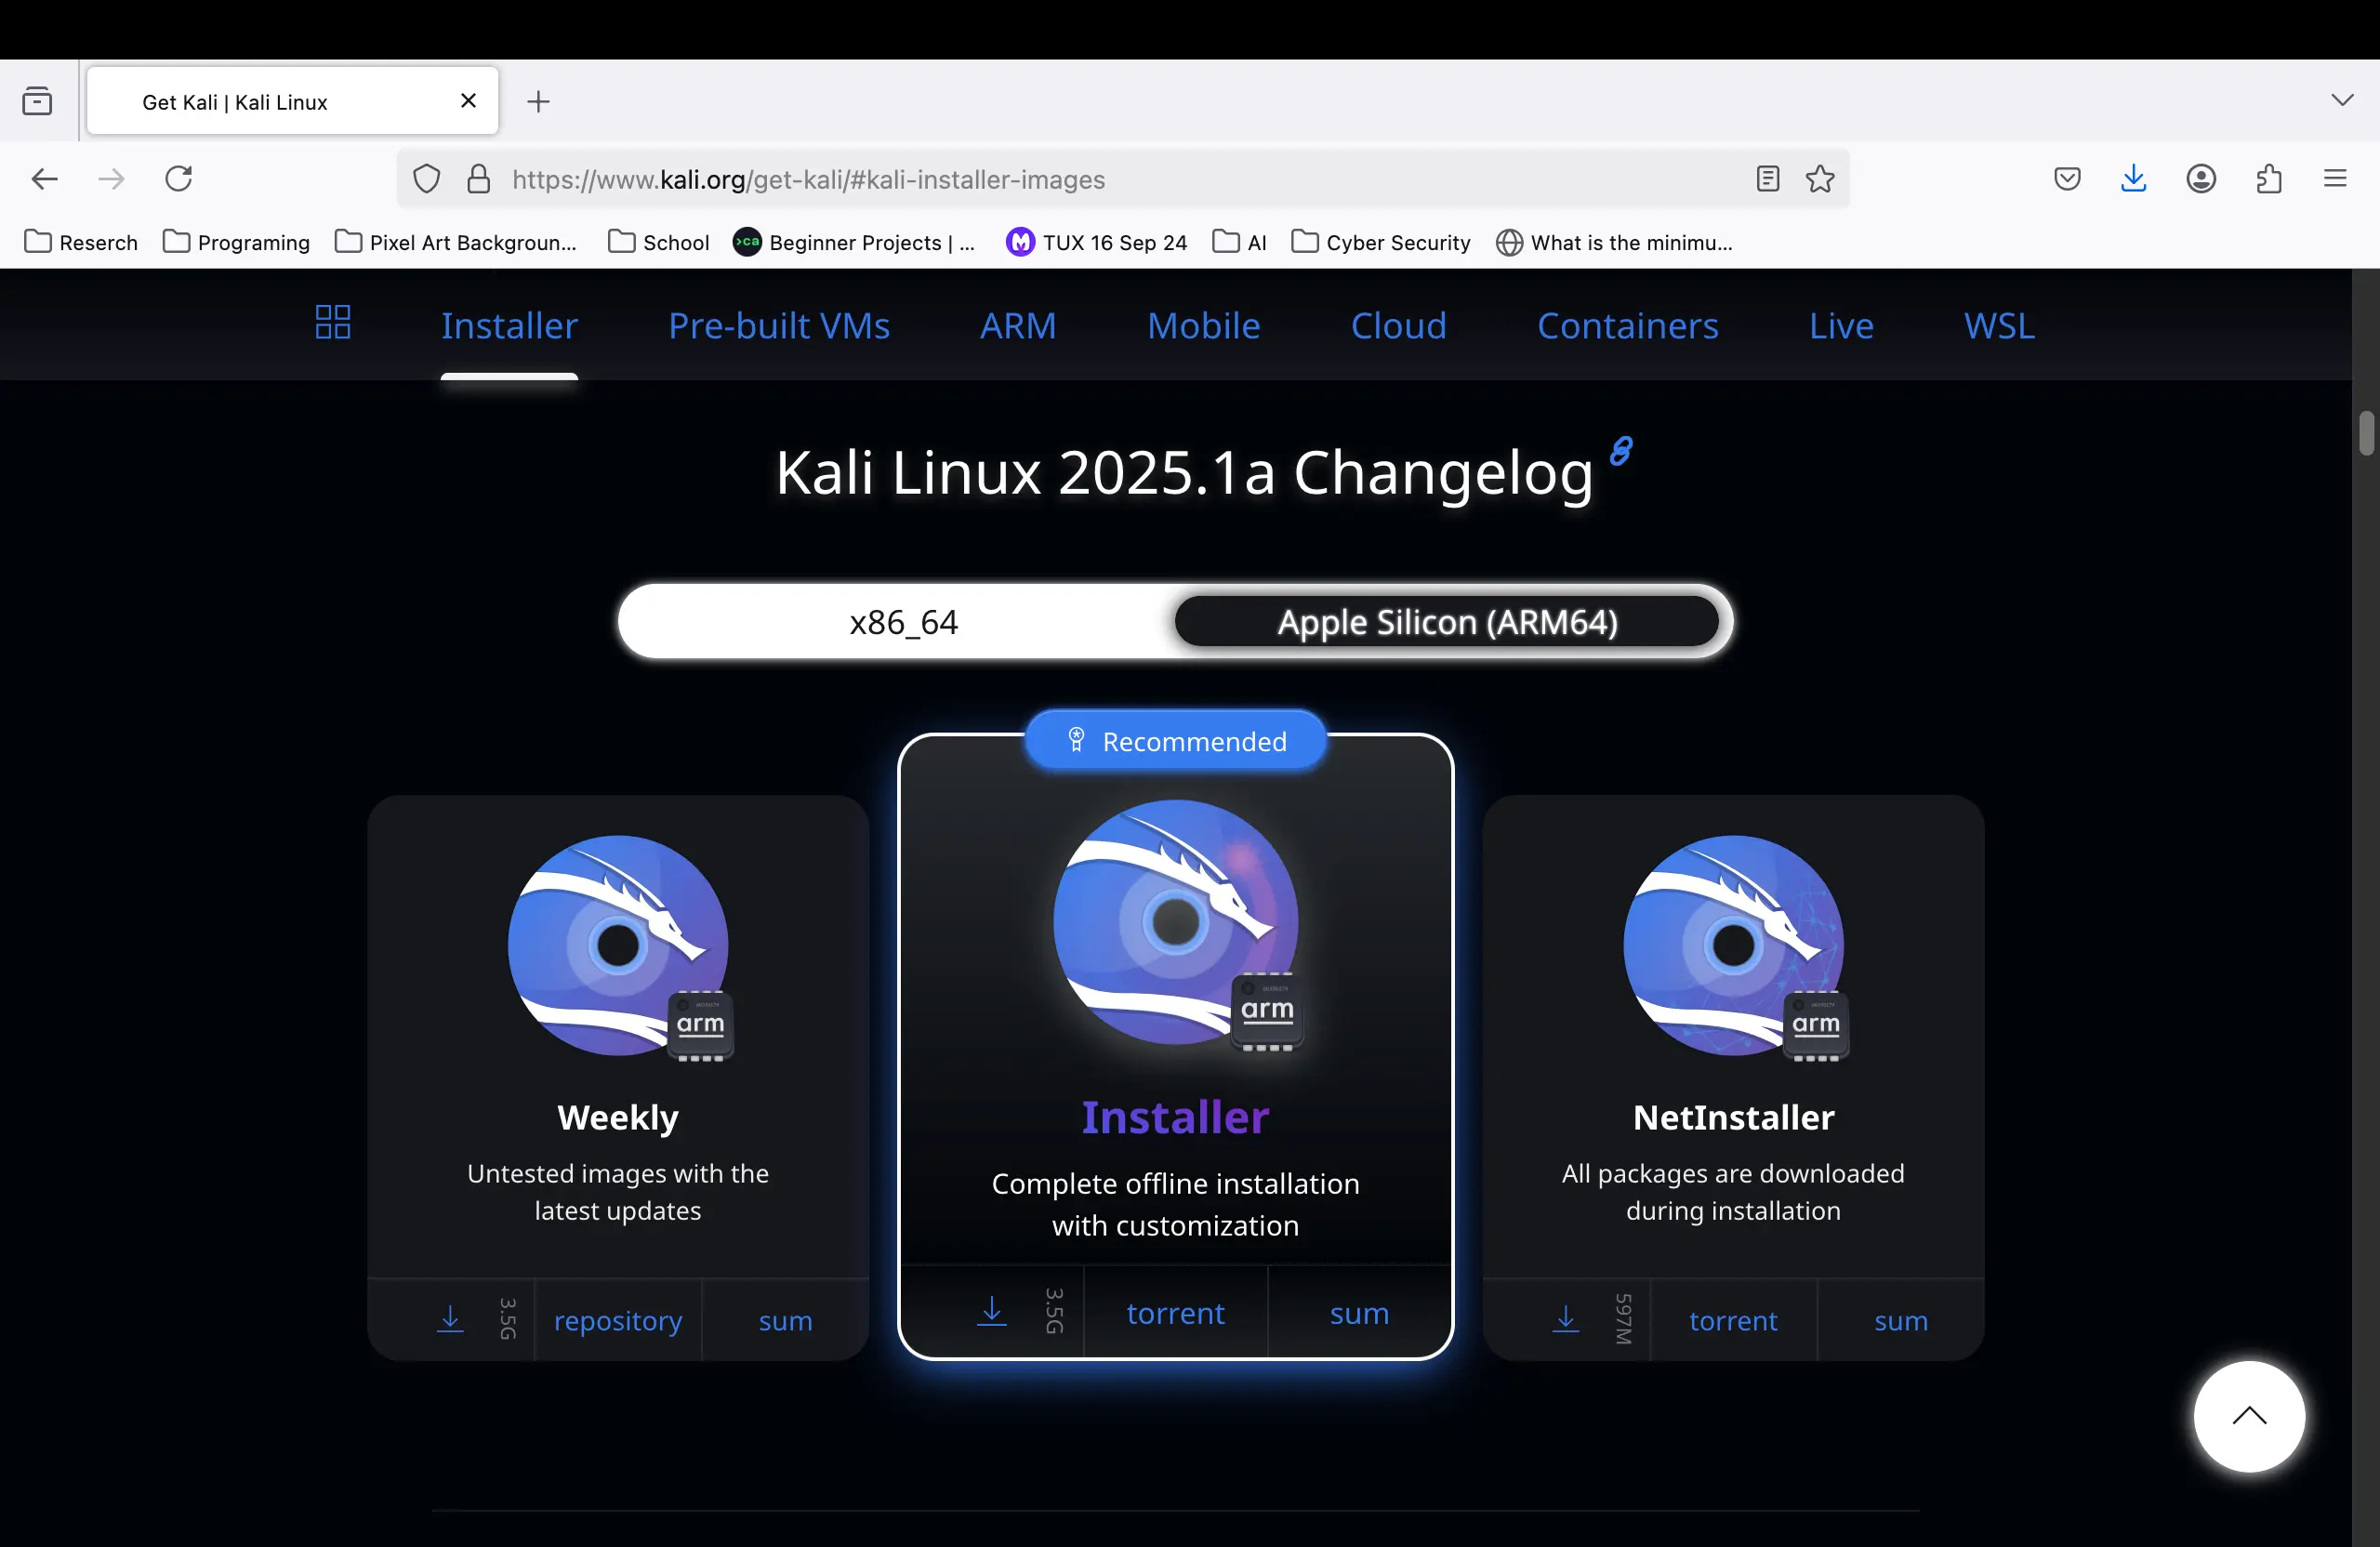
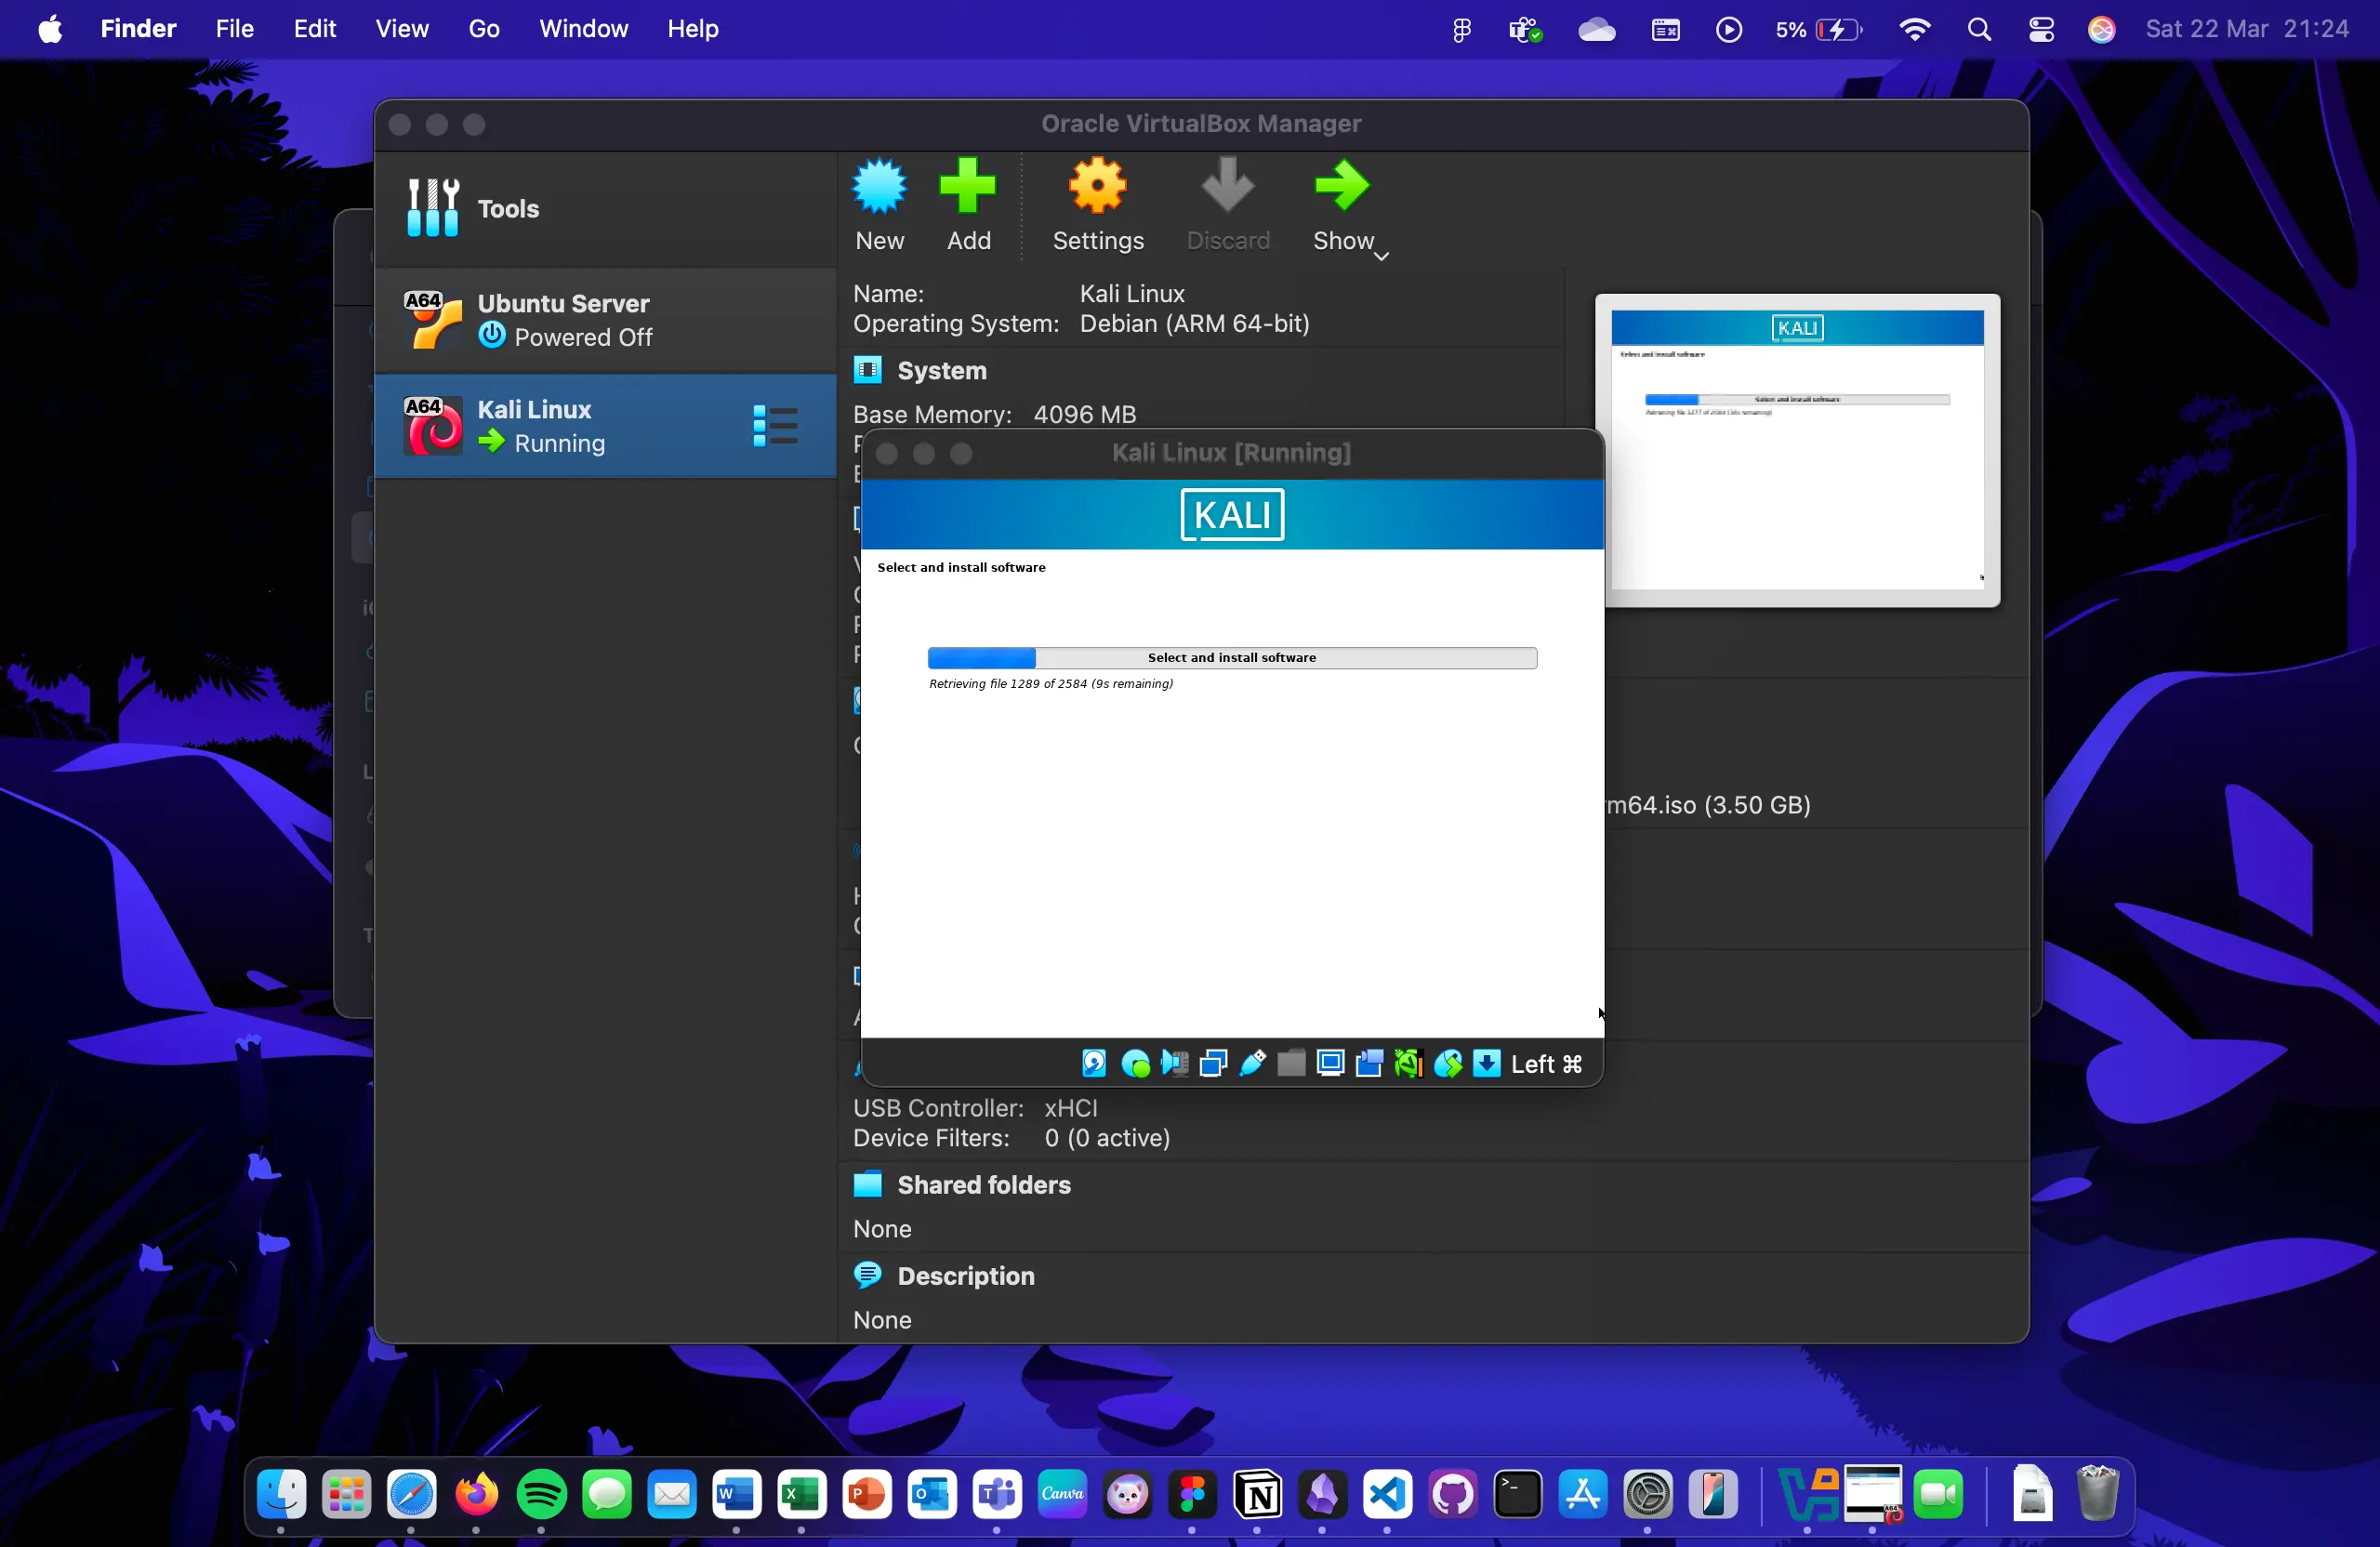
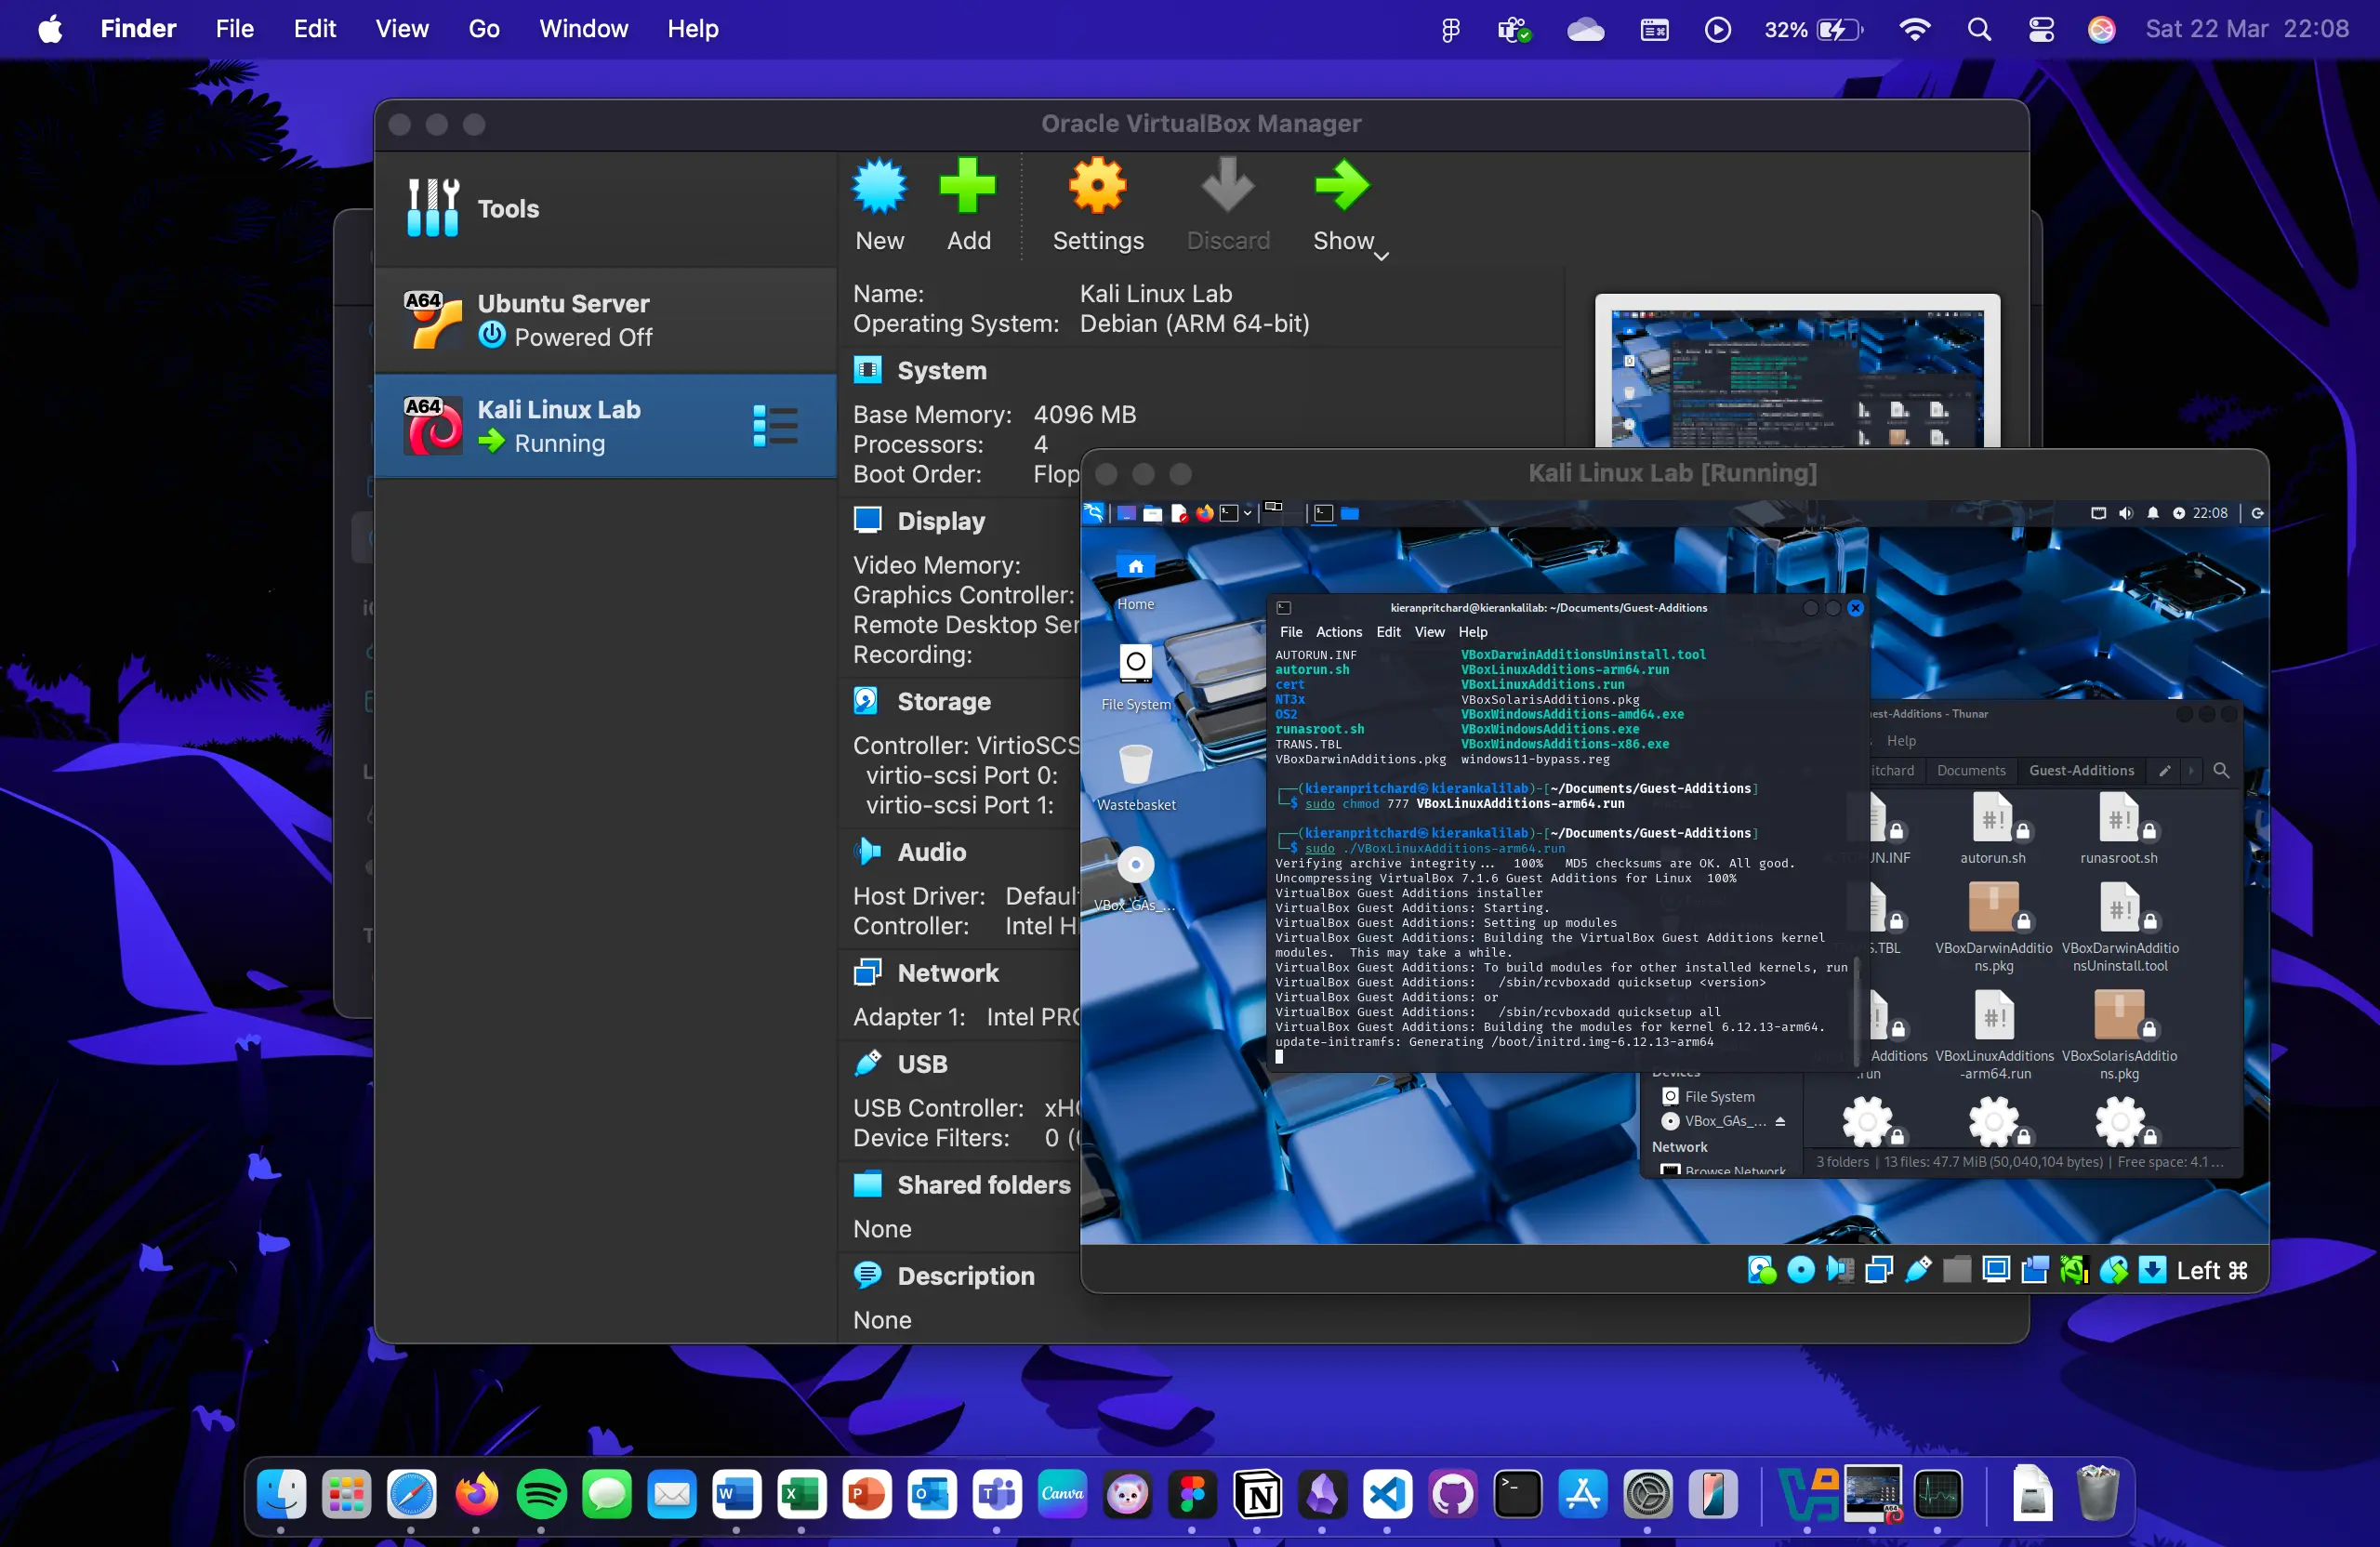
A full breakdown of how I set up my ethical hacking lab using VirtualBox on my laptop, where I installed both Ubuntu, which was to test virtual box, and Kali Linux for my ethical hacking lab. I go over fixing compatibility issues to getting internet access working, and I’ve included screenshots and notes on what I did throughout the process. (image generated by Gemini image tools)

Background

I created this setup because I wanted to build a Kali Linux lab to practice and experiment with tools on platforms like TryHackMe. At the time, I didn’t have any way to access these platforms, so I decided to assess my needs. I settled on using virtual machines, which allowed me to boot up a lab environment whenever needed without purchasing additional hardware. This approach lets me use the lab on demand without affecting other parts of my host machine.

Ubuntu Set-Up

My first goal was to get everything running on my MacBook using Ubuntu. VirtualBox installed without any issues, and I set it up in Expert Mode based on what I had learned in college. I downloaded an Ubuntu Server ISO image and loaded it into VirtualBox. However, it opened into the UEFI console. I began troubleshooting—first by searching online for fixes, and then by asking ChatGPT for help. Eventually, I realized I had downloaded the wrong image for my host machine's architecture. After installing the correct version, I created a user account and installed Guest Additions to enable internet access, which I tested by watching My Chemical Romance music videos on YouTube.

Setting up kali linux

I first downloaded a compatible Kali Linux image for my MacBook. I then loaded it into VirtualBox and allocated system resources to the virtual machine. After booting it up, I created a user account, installed Guest Additions, and made sure everything worked correctly. Finally, I installed any missing tools and customized the OS to my preferences.